ClusterVisor facilitates user management by providing role-based access control mechanisms. Your cluster administrators can define user roles in order to ensure secure access to cluster resources while preventing unauthorized usage.
ClusterVisor user management functions are listed in the main navigation in a section called “Users, Groups, and Roles.”
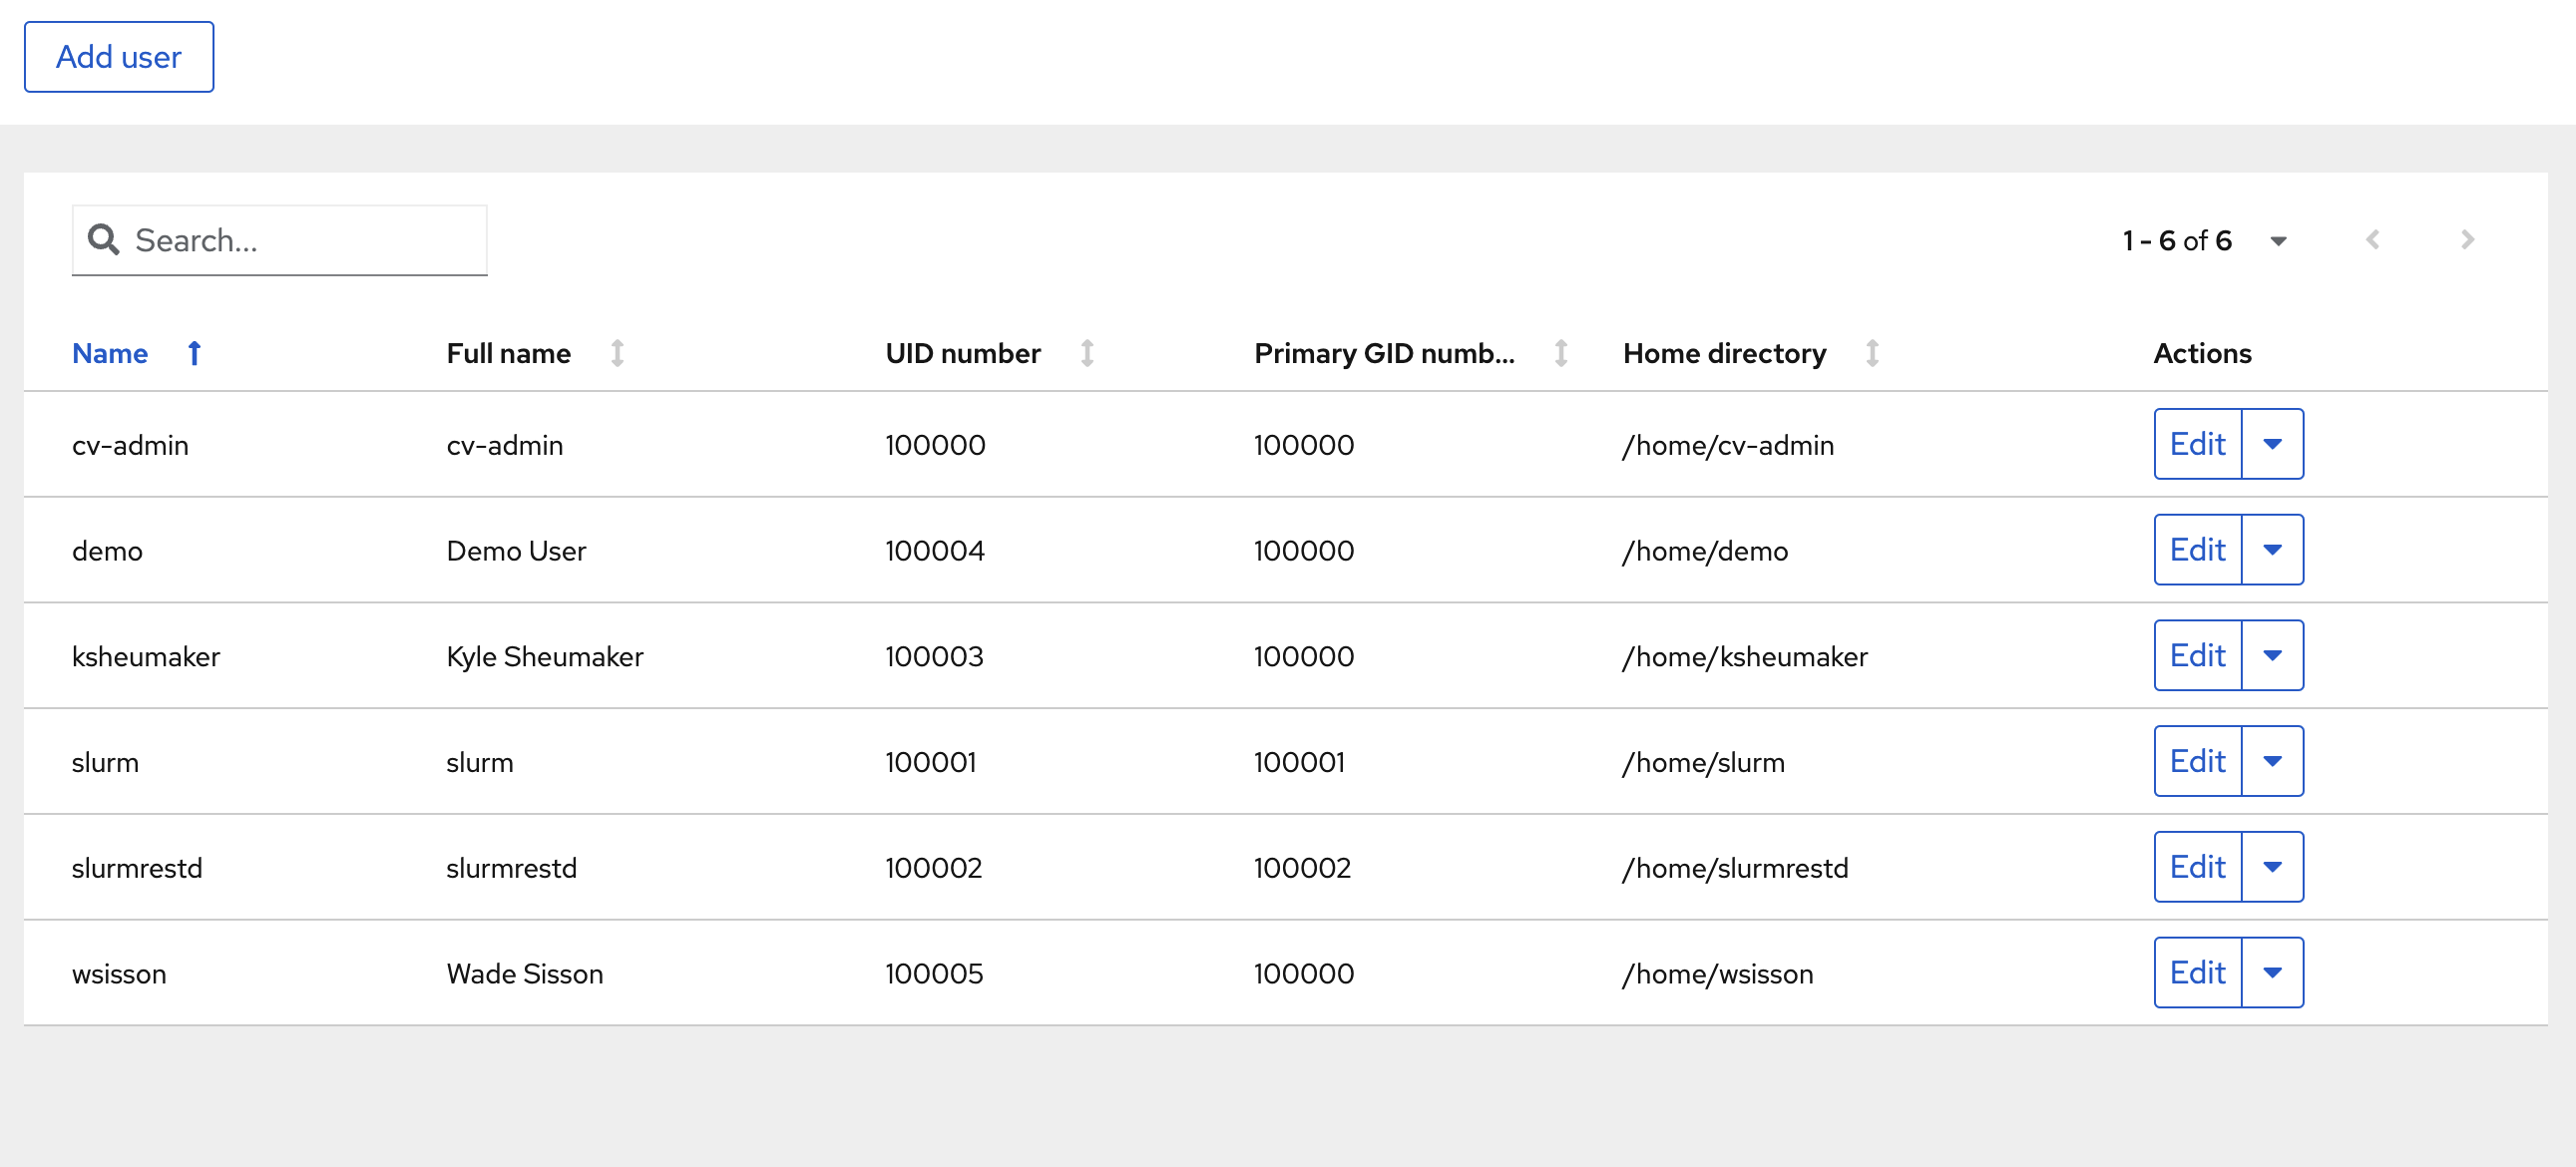
The main Users page displays all of the users who have access to your cluster via ClusterVisor. User details displayed include Name (which will also serve as the username for the new account), Full name, UID number (which is the unique identifier assigned to each user), the Primary GID number (which is the identifier for the first group to which this user was assigned), and the Home directory for each user. There are buttons to enable you to Add a user and an Actions column which enables you to Edit an existing user.
Adding a User
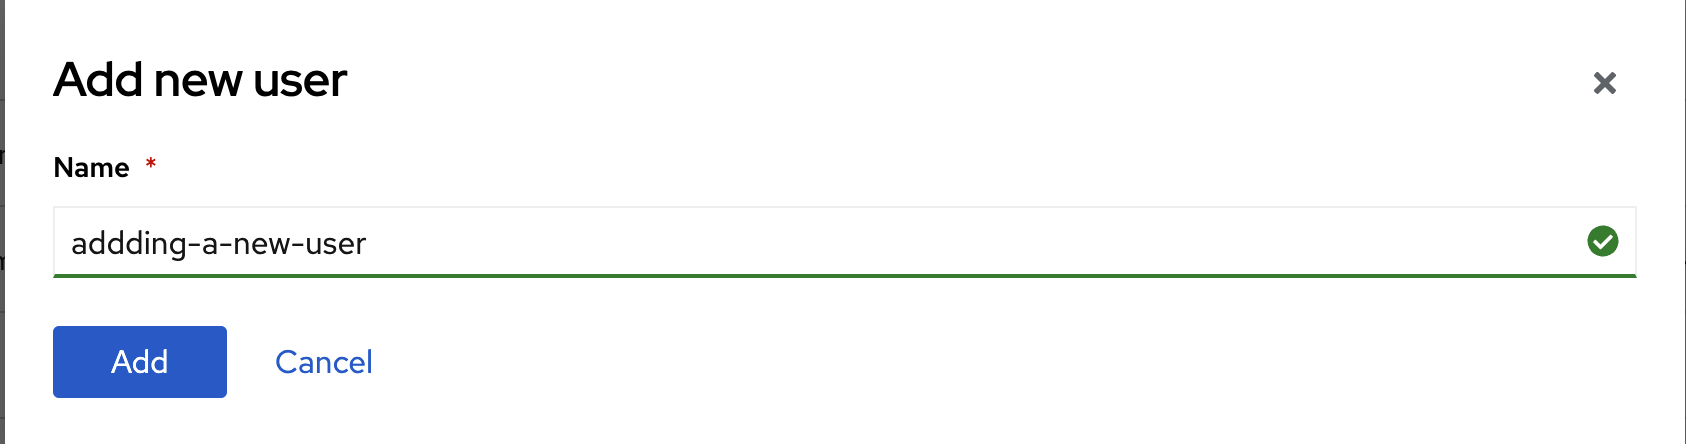 To add a new user, click the “Add User” button at the top of the main Users, Groups, and Roles section. Enter a name for the user. This name will serve as the username for the user.
When you click the Add button, a new window opens. You will need to fill out the information here to complete the process of adding a new user.
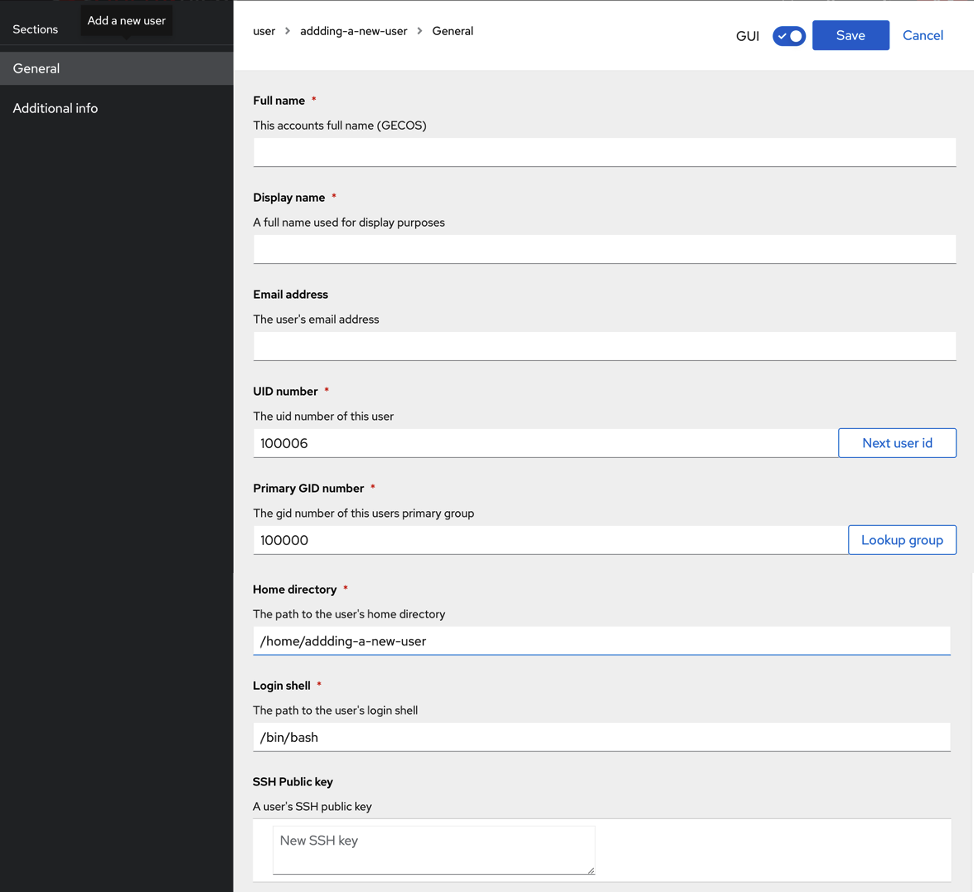
The UID and Primary GID numbers will automatically be generated for you when you are creating the new user account. You will be able to customize the rest of the entries including the Home directory to which the user account is tied.
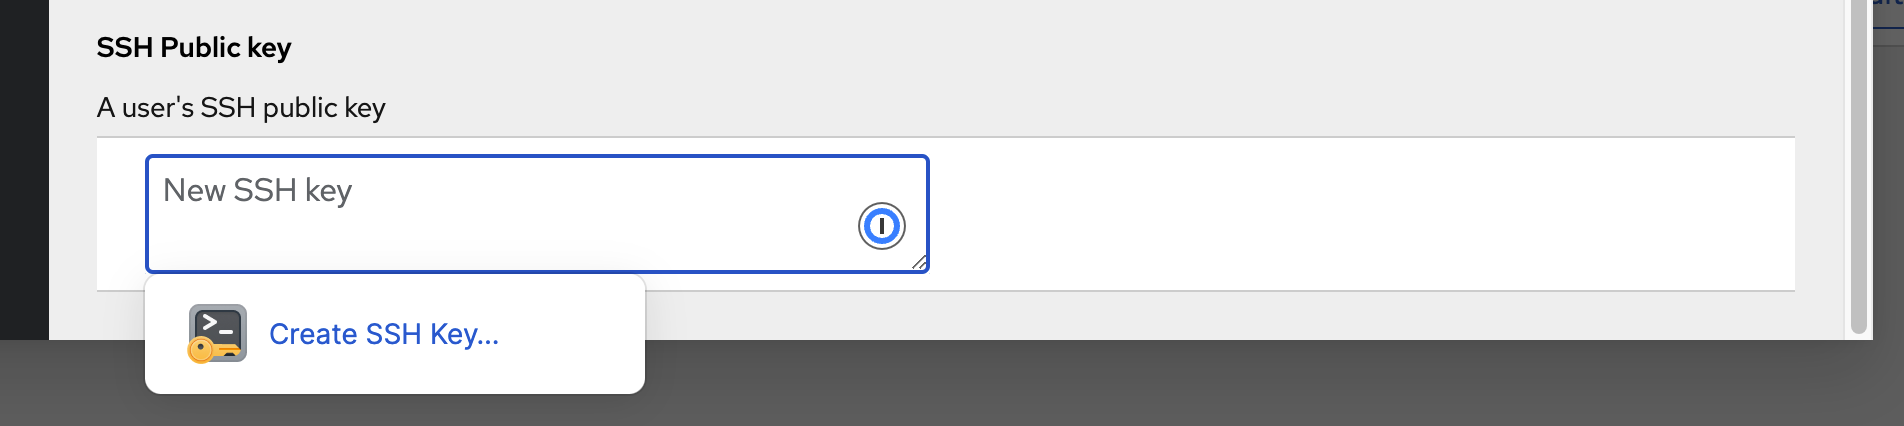
The last entry to be made on this page will create the SSH Public Key for the new user you are adding. When you click on the field to enter the information, you will be prompted to a tool that will auto-generate an SSH key for you. You are not required to create an SSH key, but of course without it your new user will not be able to access your cluster remotely via ClusterVisor.This is one of many choices you as the administrator will be able to make with regard to how much access your new user will have.
When you have completed all required fields (and any optional fields that you choose to complete), click the Save button to create this new user profile. Your new user will now appear in the user list on the main page.
Editing a User Account
To edit a user account, from the main list click the Edit button in the Actions column.
Edit
The Edit function allows you to edit any of the fields you entered when you created the user account.
Delete
You have the ability to delete the user account when you select the Delete option in the pull-down.
Groups
When you click on the Groups option within the Edit list, you will get a list of all Available Groups that have been created for your cluster in ClusterVisor. When you see a group that you want to make available to the user account that you are editing, select that group and use the >> arrow to move that group from the Available to the Selected group column.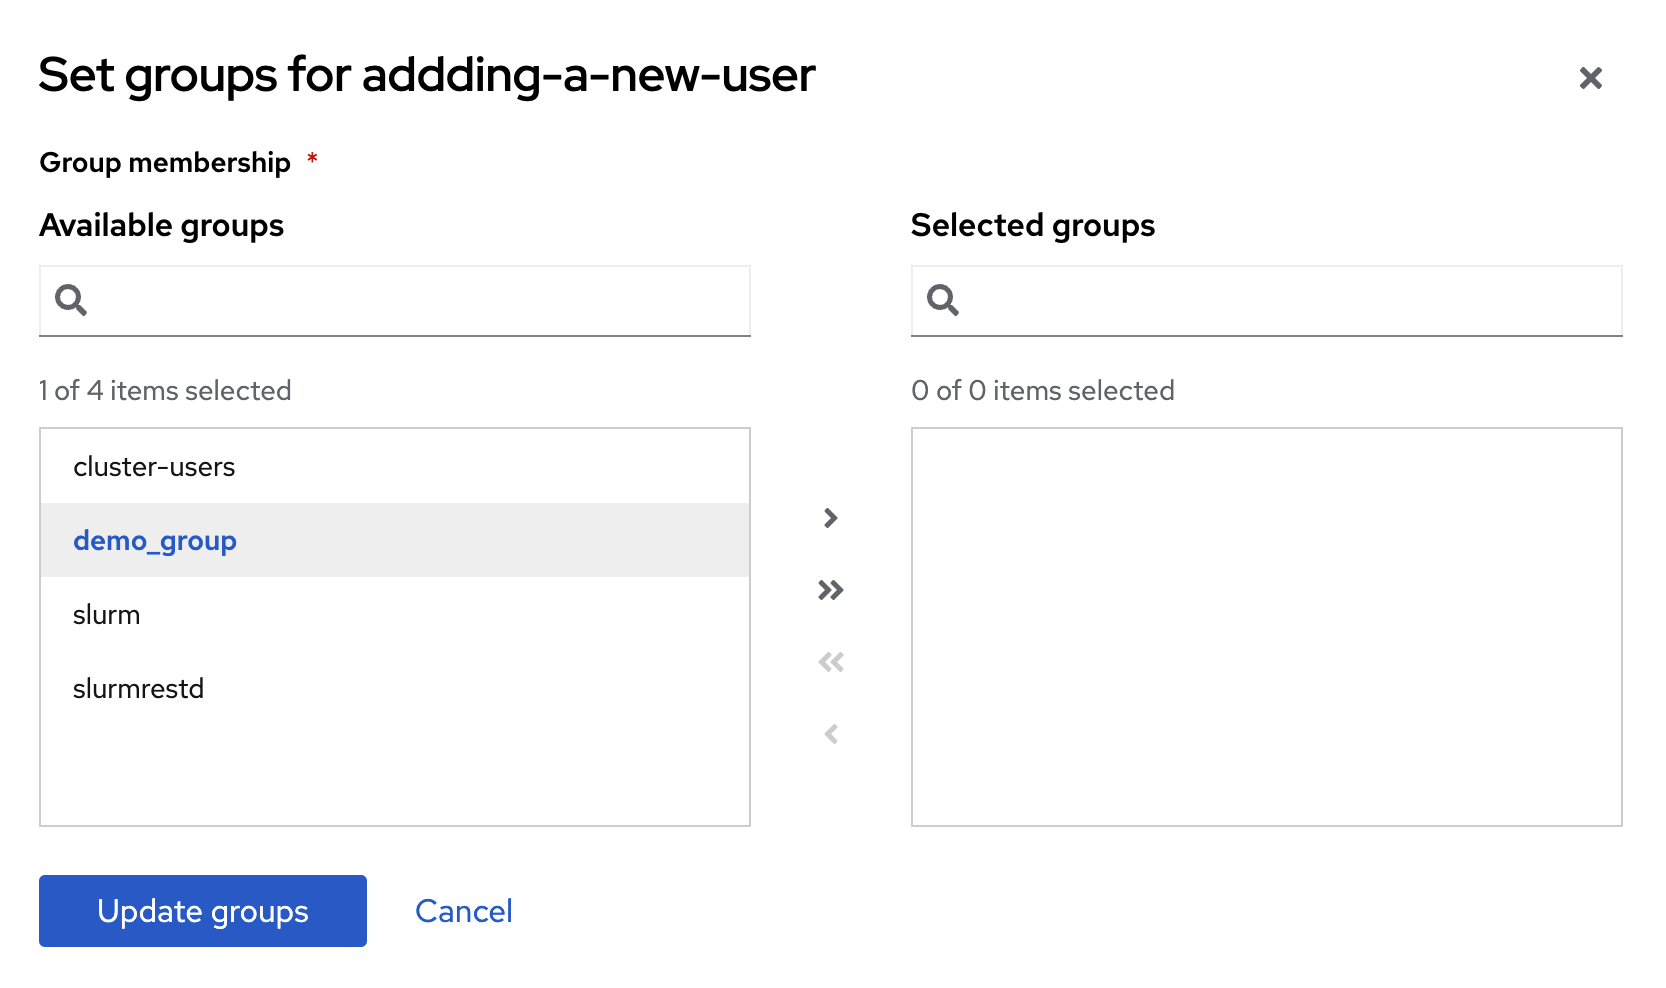 Once you have selected all of the groups that you want to make available to the user and moved them to the Selected column, click the Update Groups button to save your selections.
Password
Select Password in this menu to change the password for your new user. 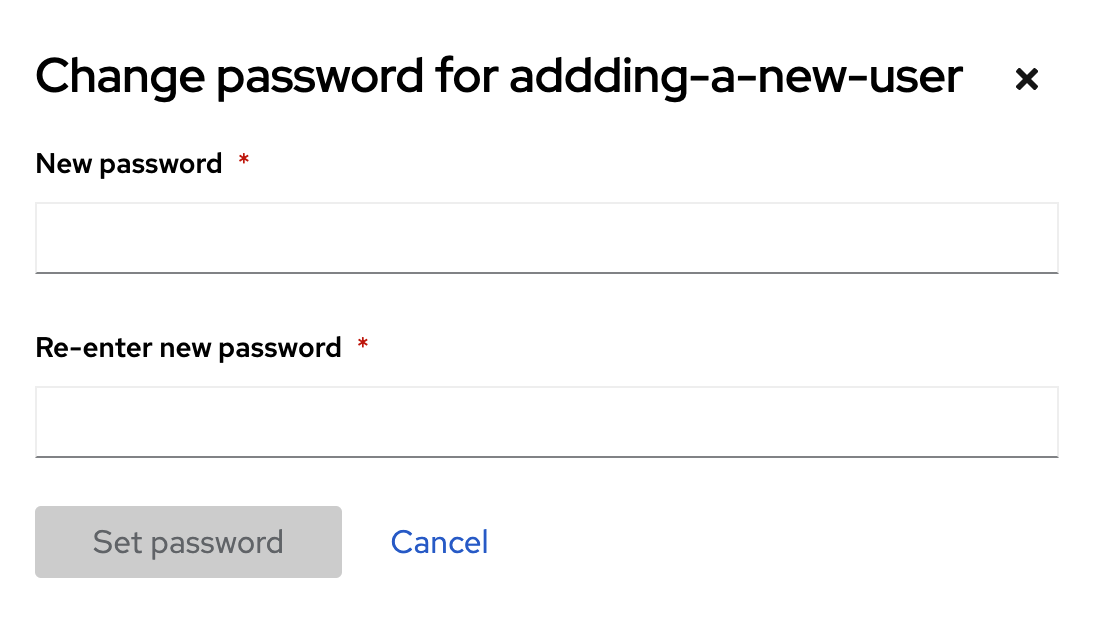
Groups
ClusterVisor makes it possible for you to create groups and assign users to them.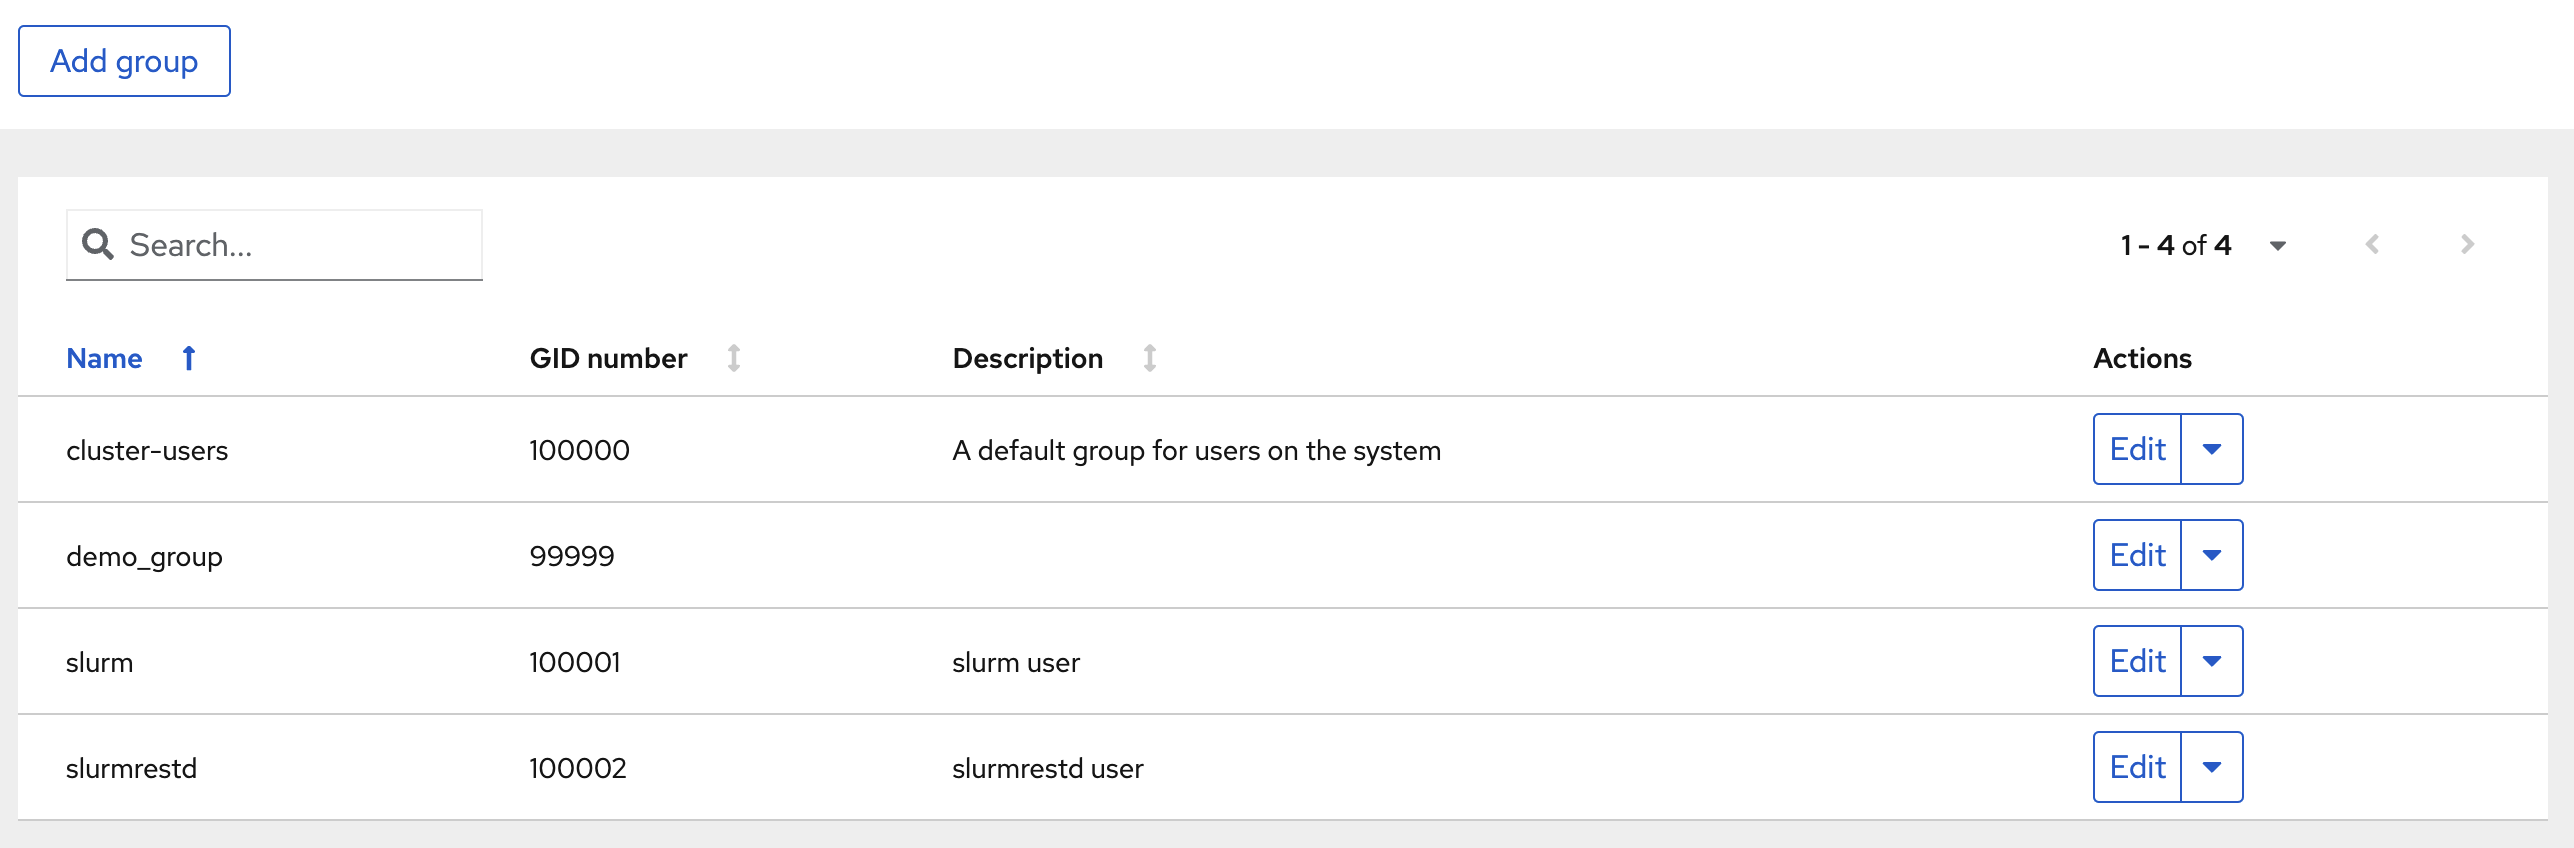
To create a new group, click the Add Group button on the main Groups page. A new window will appear. Give the group a name and click Add.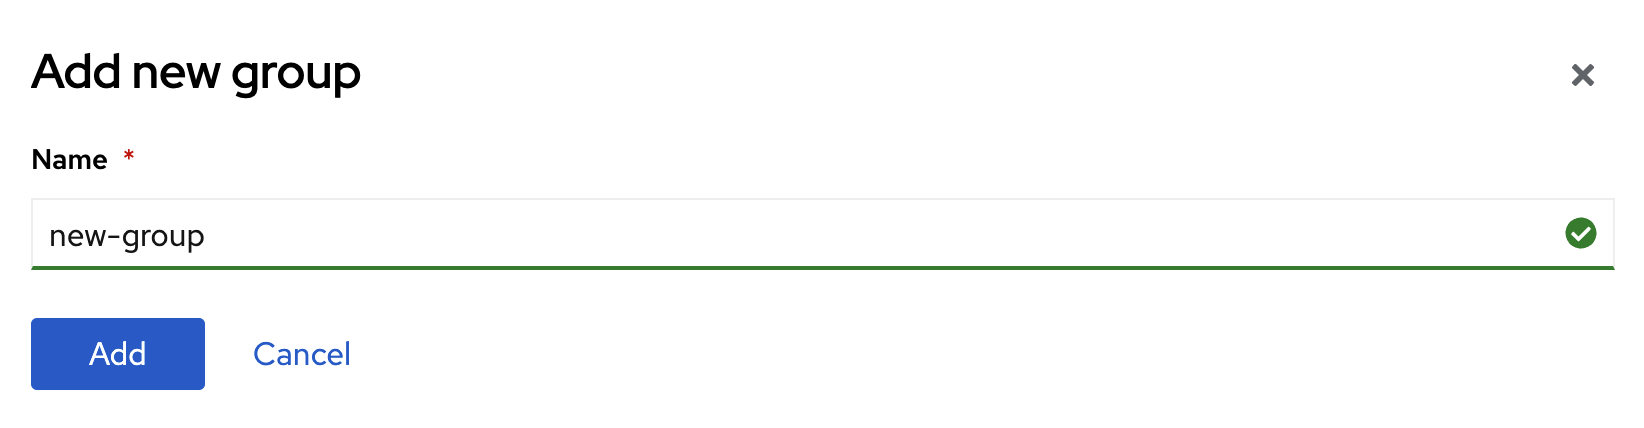
You will then be prompted to enter information about the new group, including the group name and a brief description of the group. You can also select users who should be joined to the group. Click the Save button to commit your changes.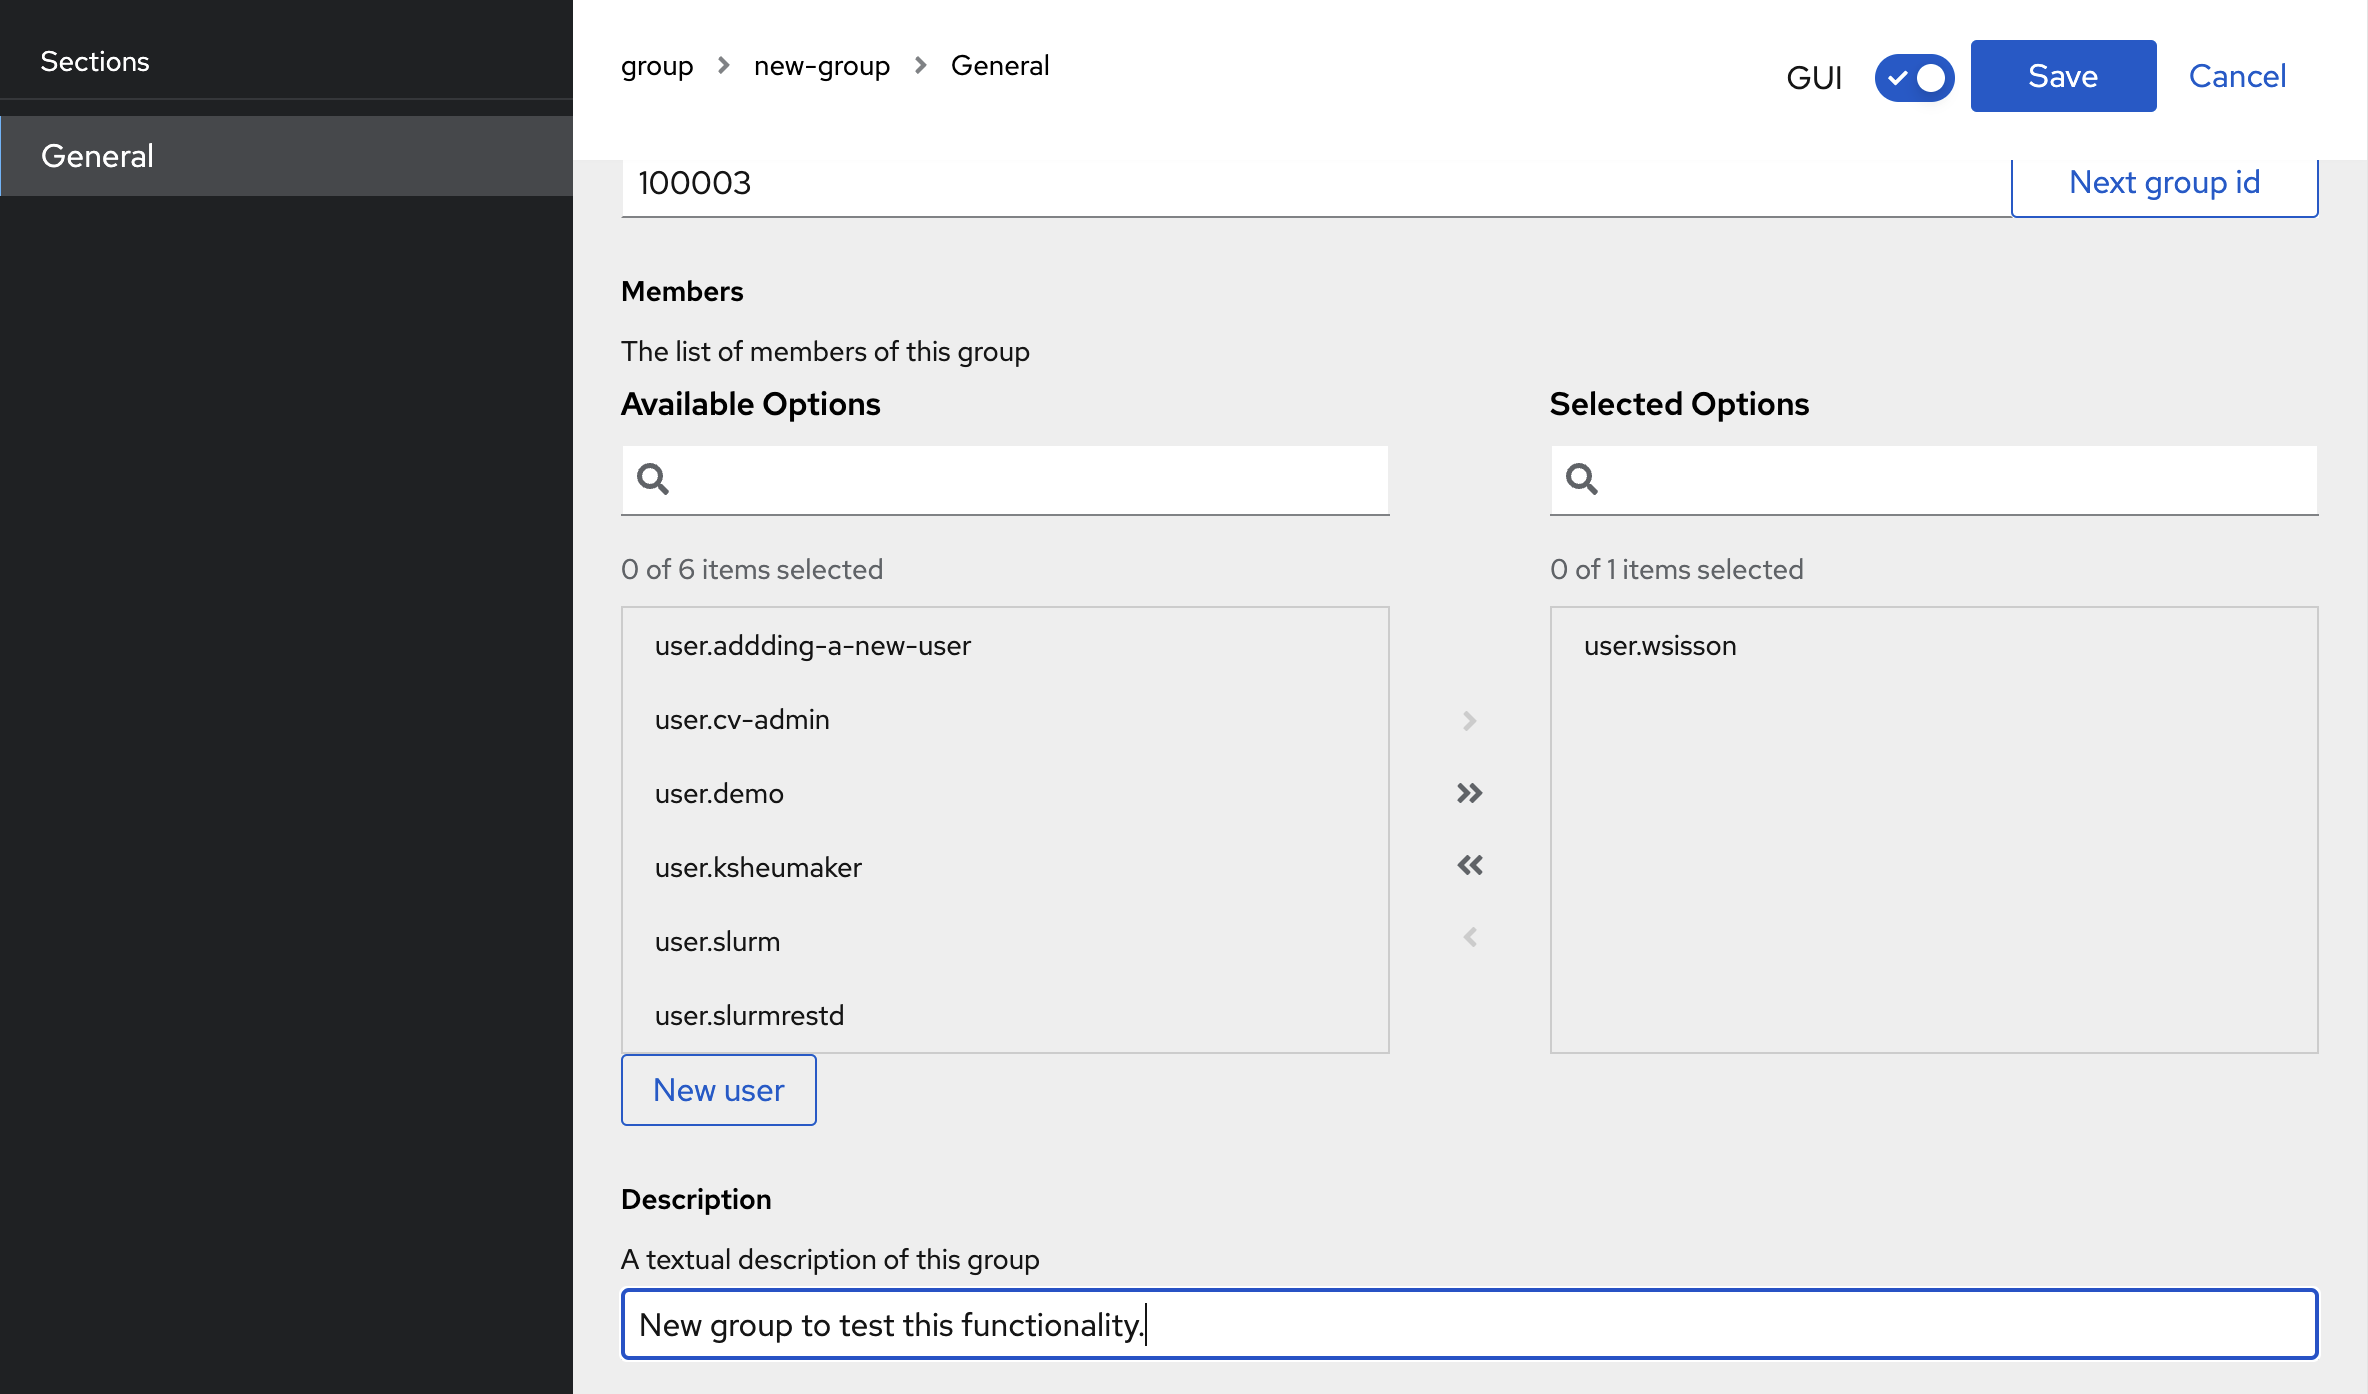
Any new group you create is automatically made available on all nodes of your cluster because this action alters ClusterVisor’s built-in LDAP system. The new group will now appear in the list of groups on the main Groups page. 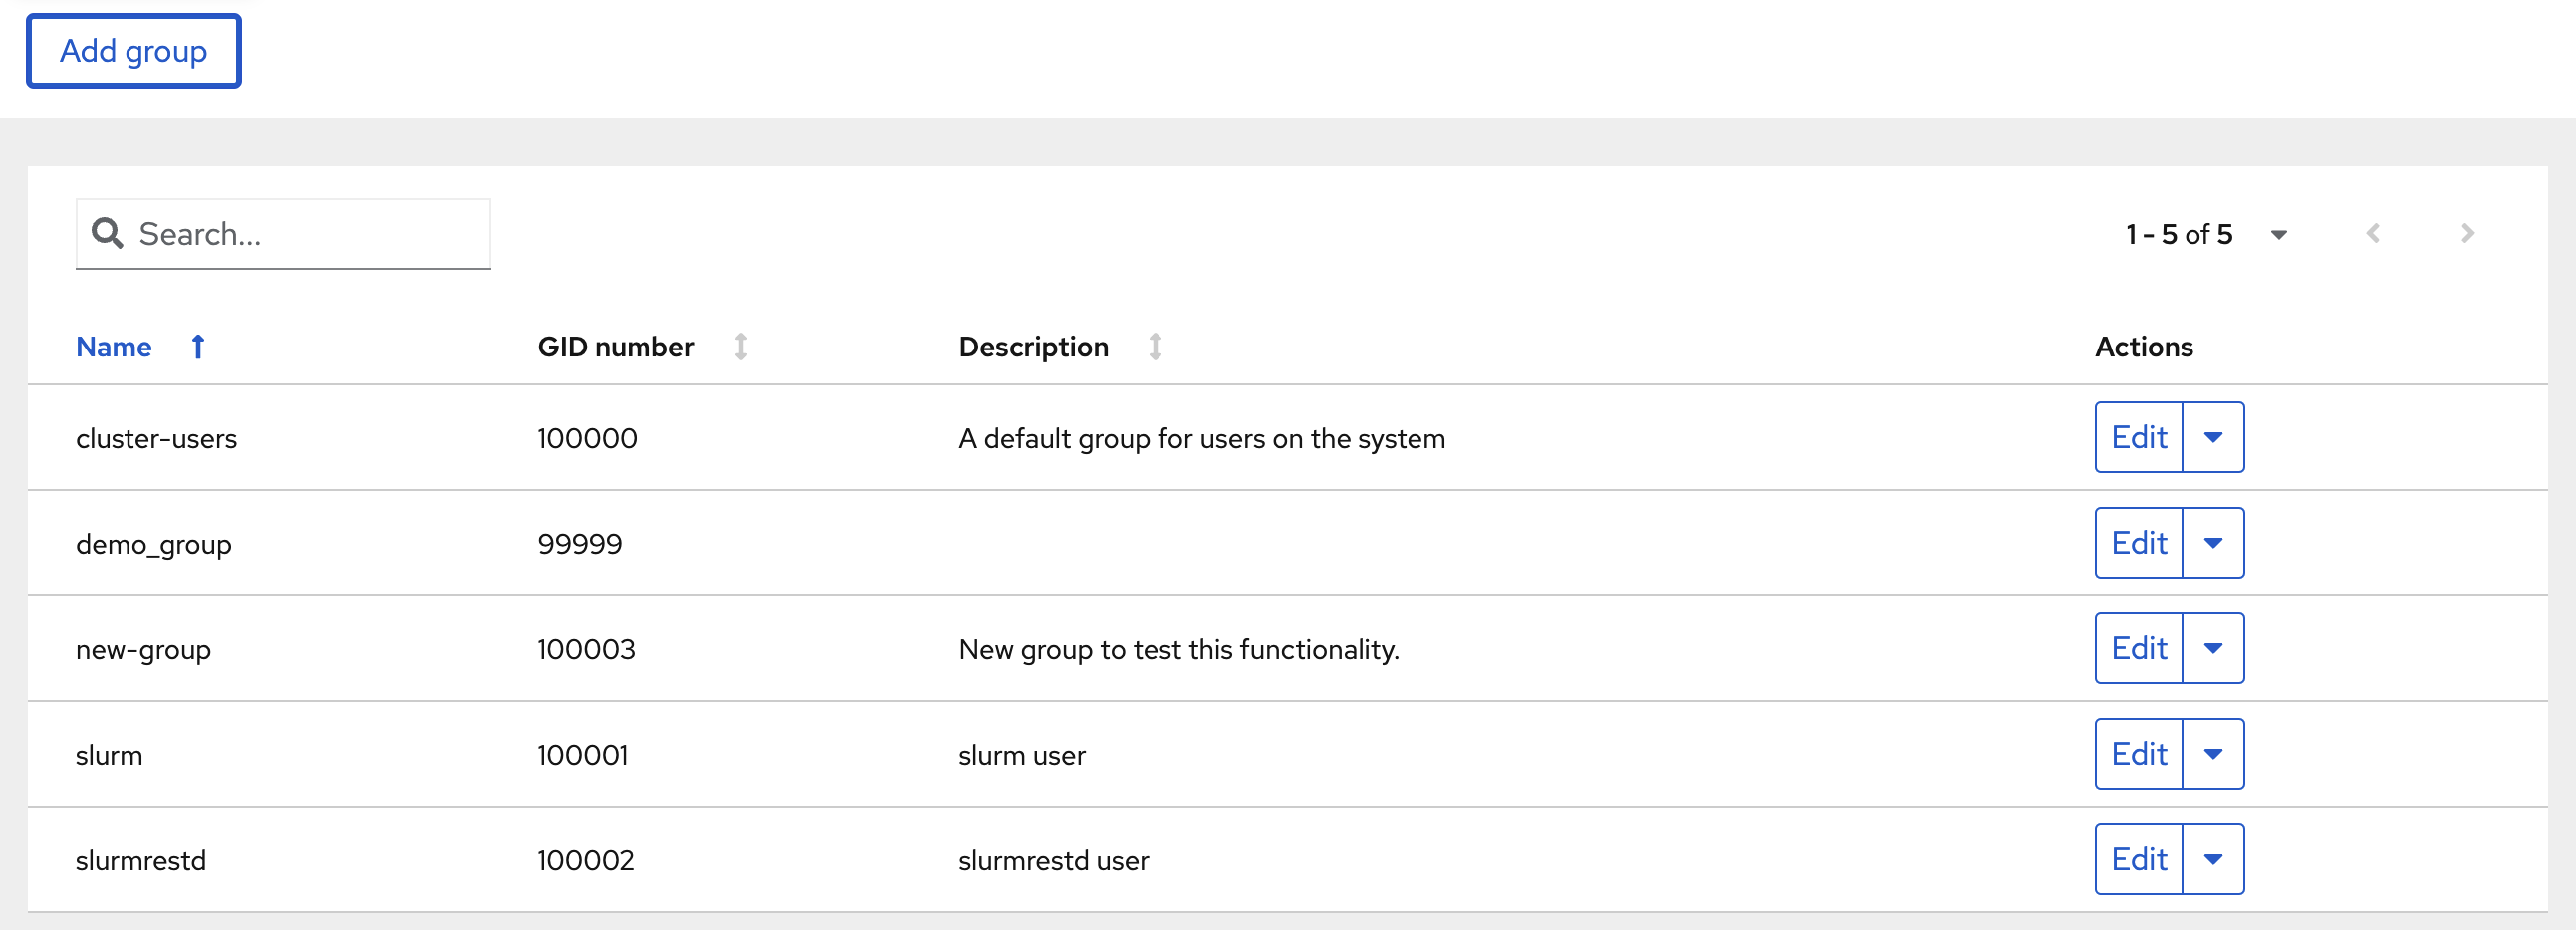
From the Actions column you can Edit or Delete the group.
Roles
You can create roles for your users that will make it easier for you to manage users by organizing them based on the different roles they will play with respect to using the cluster. To create a new role, click the “Add role” button.
Simply create a new name for the role and click the “Add” button
Next you will be prompted to provide a brief description for the role you are creating. Under the “Cluster admin” header you will see that by default a new role does not have full control of your cluster. You can give this role full control by turning the toggle switch on. You can also see a list of Available Permissions. Use the arrows to move permissions you want to assign to this role and move them to the Selected Permission column. Click save when you have finished your selections.
The new role you created will now appear in the main list. From the Actions column you can Edit, Rename, Copy or Delete the role.